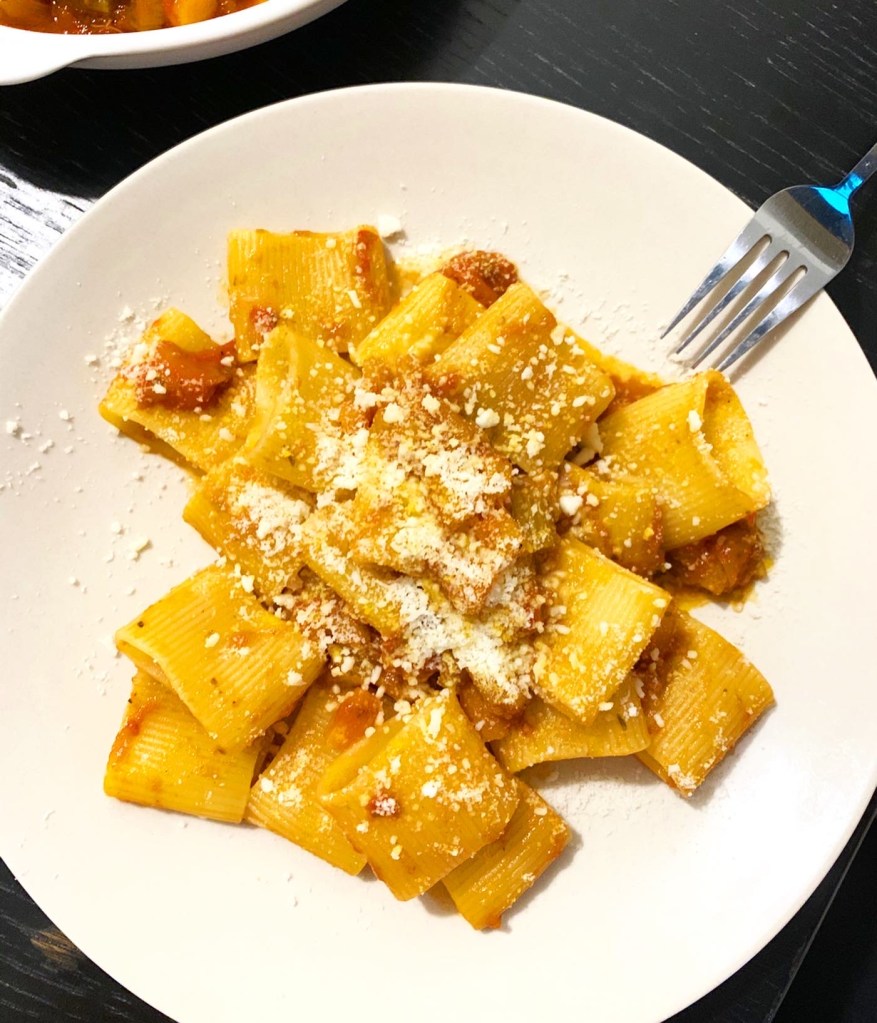
Amatriciana
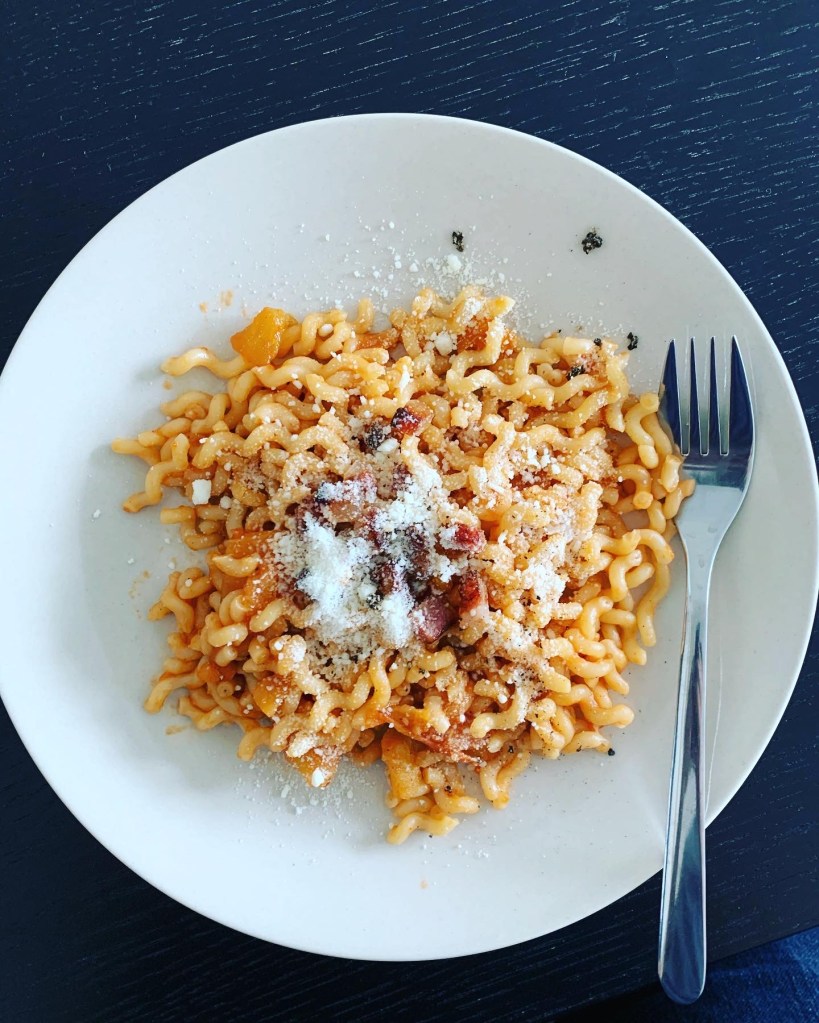
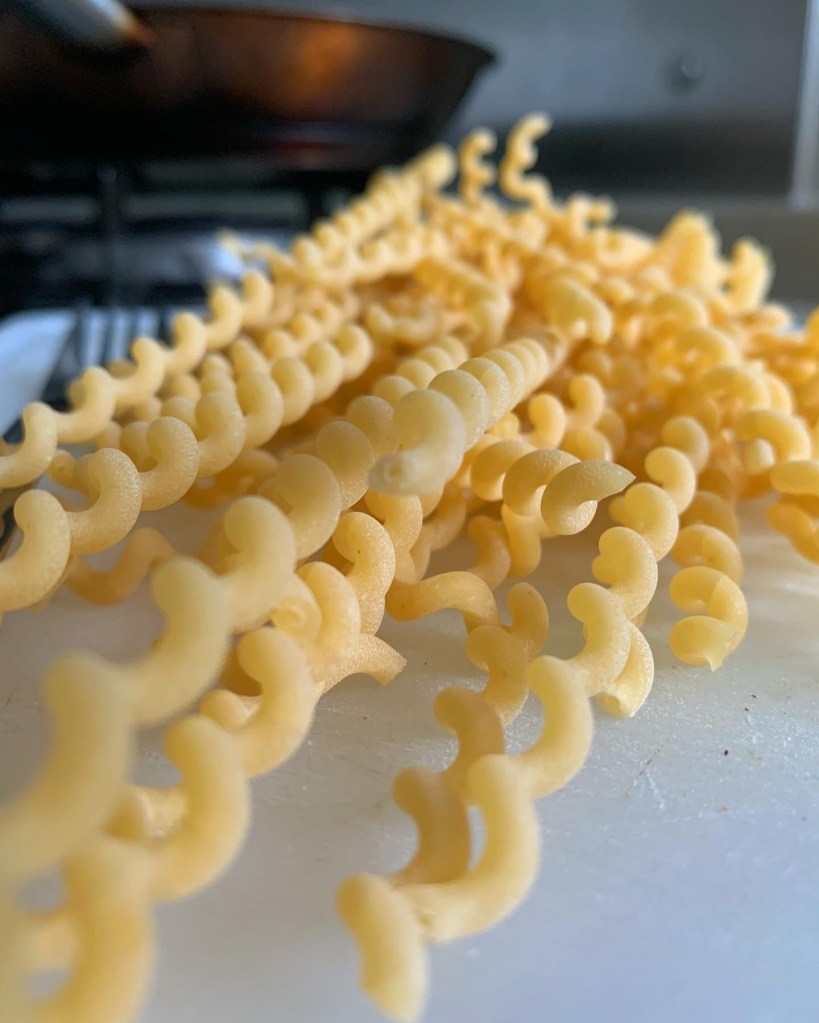
Each time we buy guanciale, we go through three dishes in a week – it’s mandatory! First, carbonara. Then, amatriciana. Then, alla gricia (but with an exaggerated amount of cheese that it becomes more like Spätzle! Here we use a wonderful type of pasta from Tesco’s Finest (USelect in Hong Kong) called fusili col buco, which literally means fusili pasta with holes. Perfect for mopping up the sauce of this delightful dish.
Serves 2
Time: 🕰🕰
Effort: 💪
Ingredients:
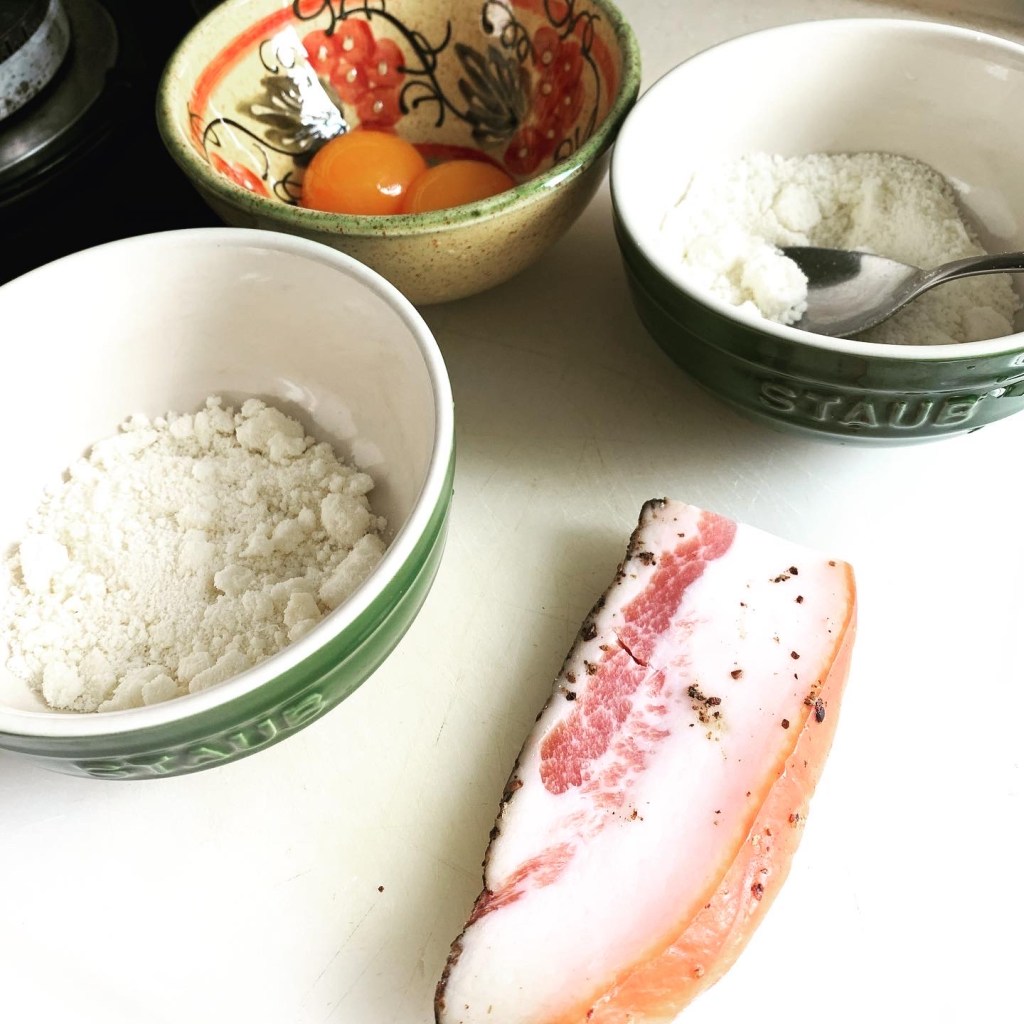
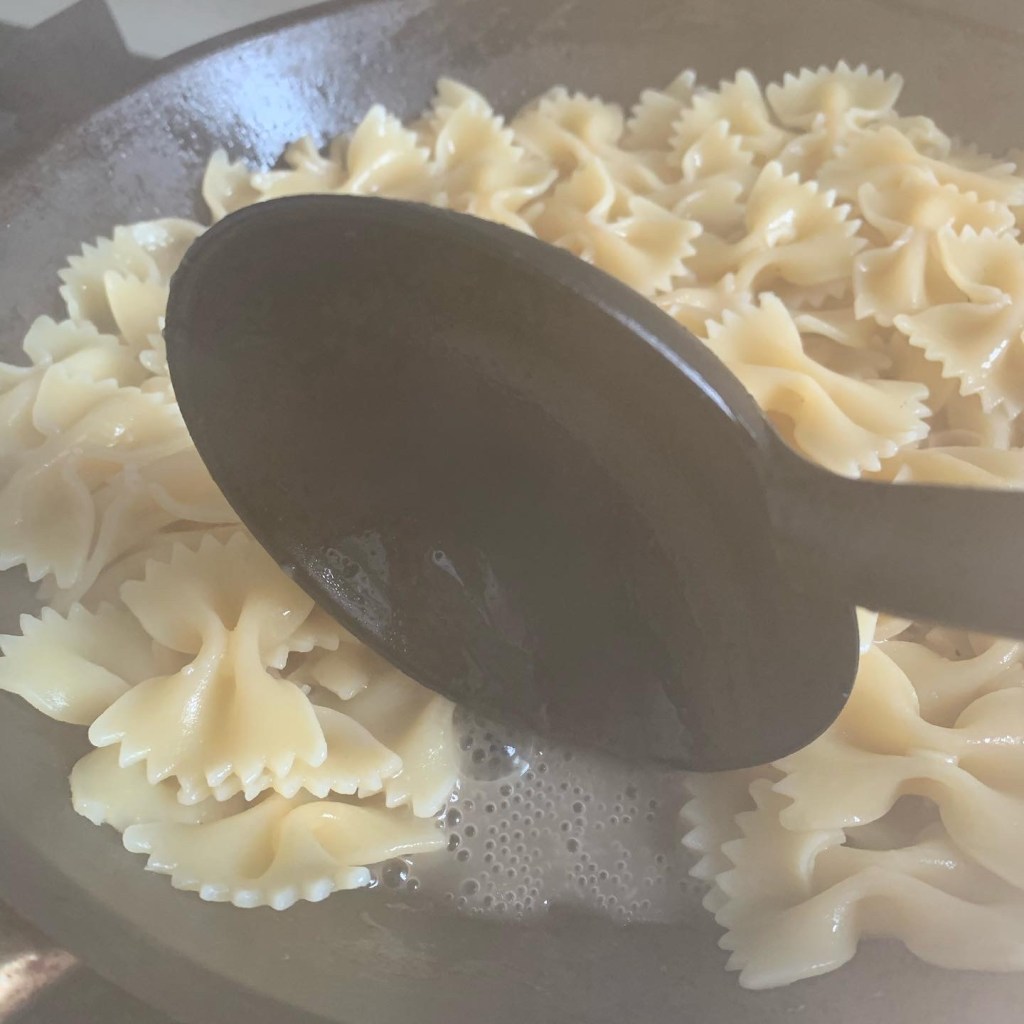
250g pasta (here: fusilli col buco)
1 chili
2 garlic cloves
1/2 slice of guanciale
1 fresh tomato
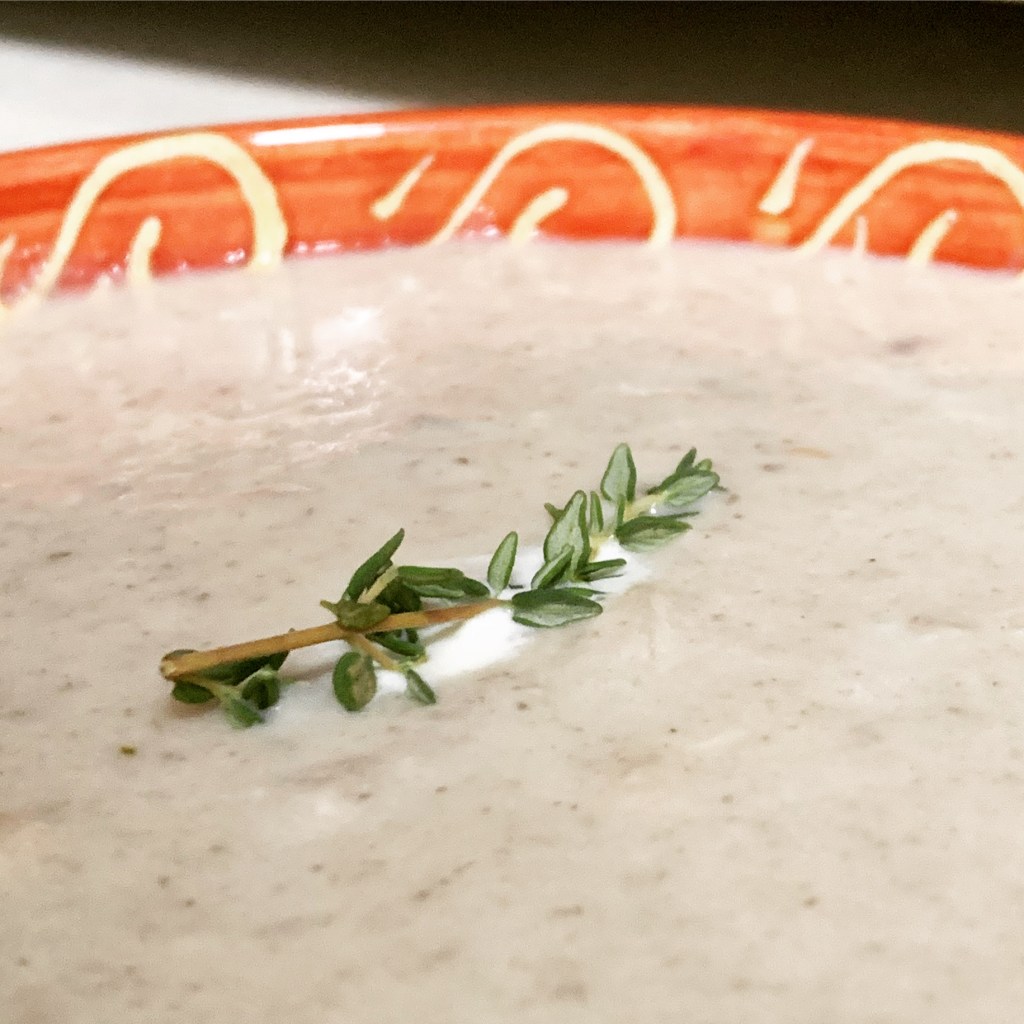
Small handful of fresh herbs, such as basil or tarragon
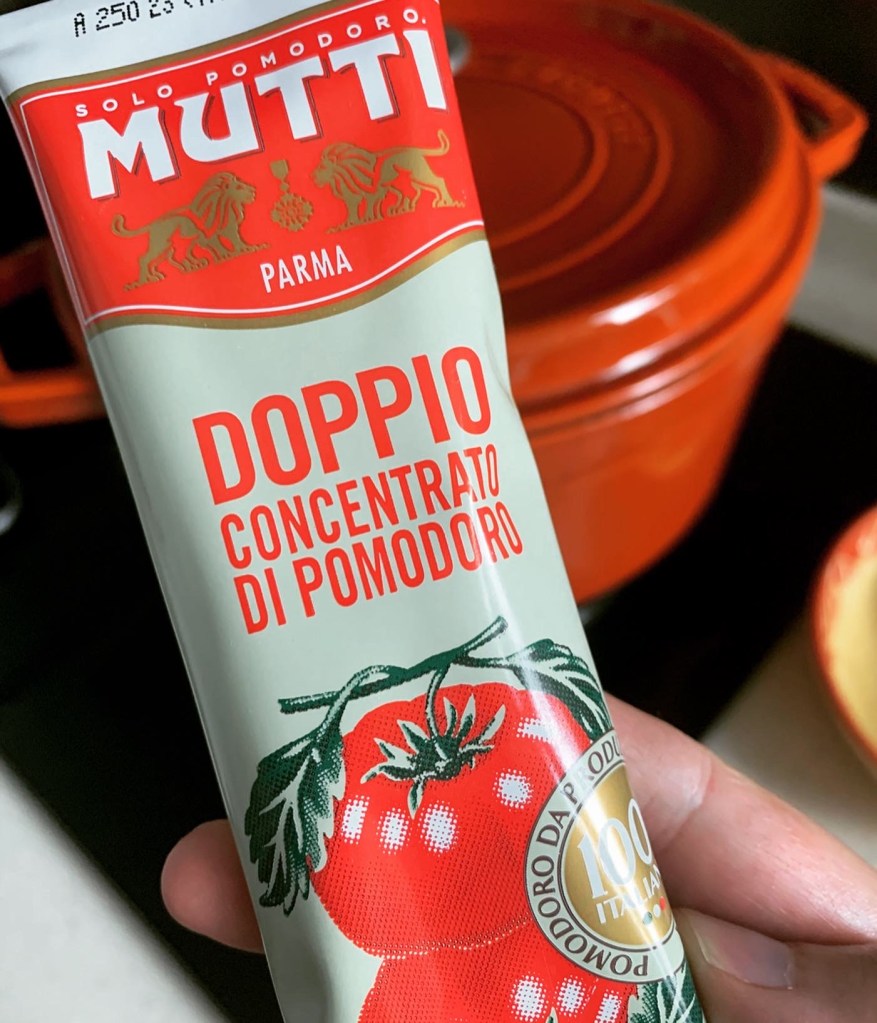
1 tablespoon tomato concentrate
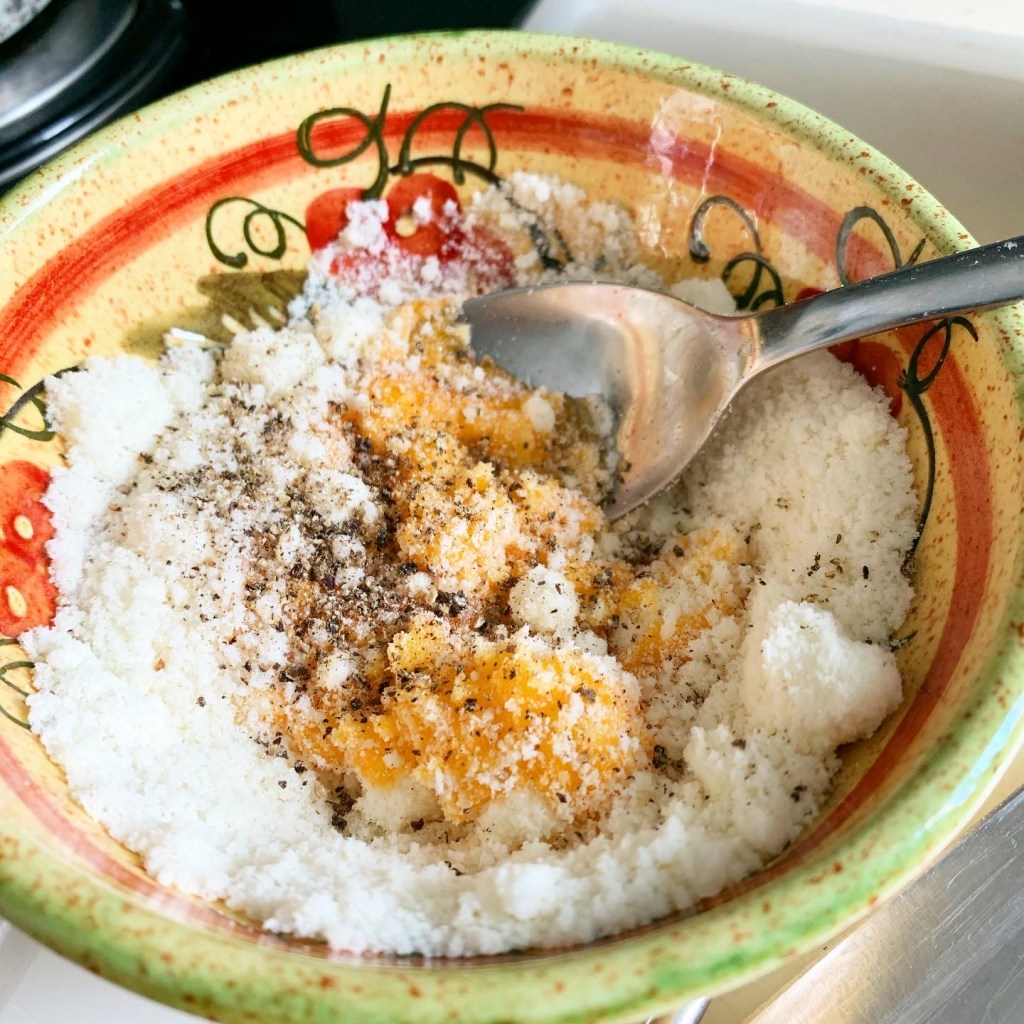
Salt and pepper
Handful of pecorino romano
Method:
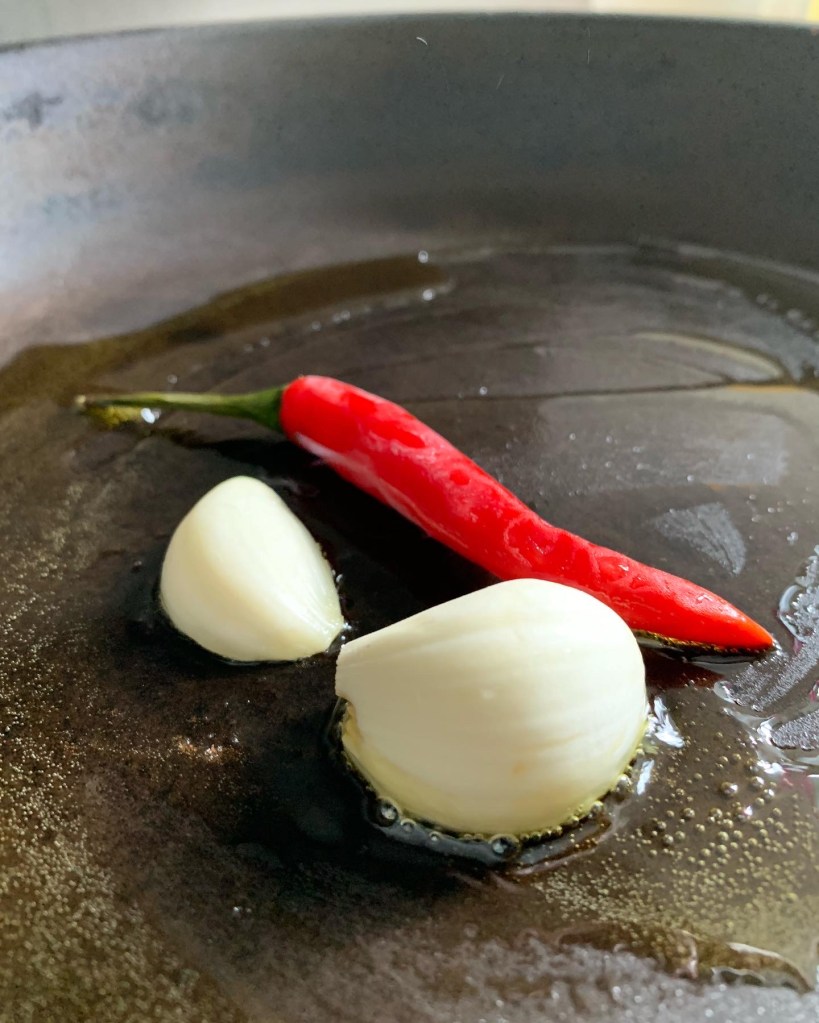
1. In a large frying pan, add 3 tablespoons olive oil, garlic, and chili
2. Turn flame to medium low to infuse the flavours into the oil
3. Meanwhile, prepare a large pot of water and bring to the boil
4. Add salt to the water until it has the saltiness of a light soup
5. Put pasta in water
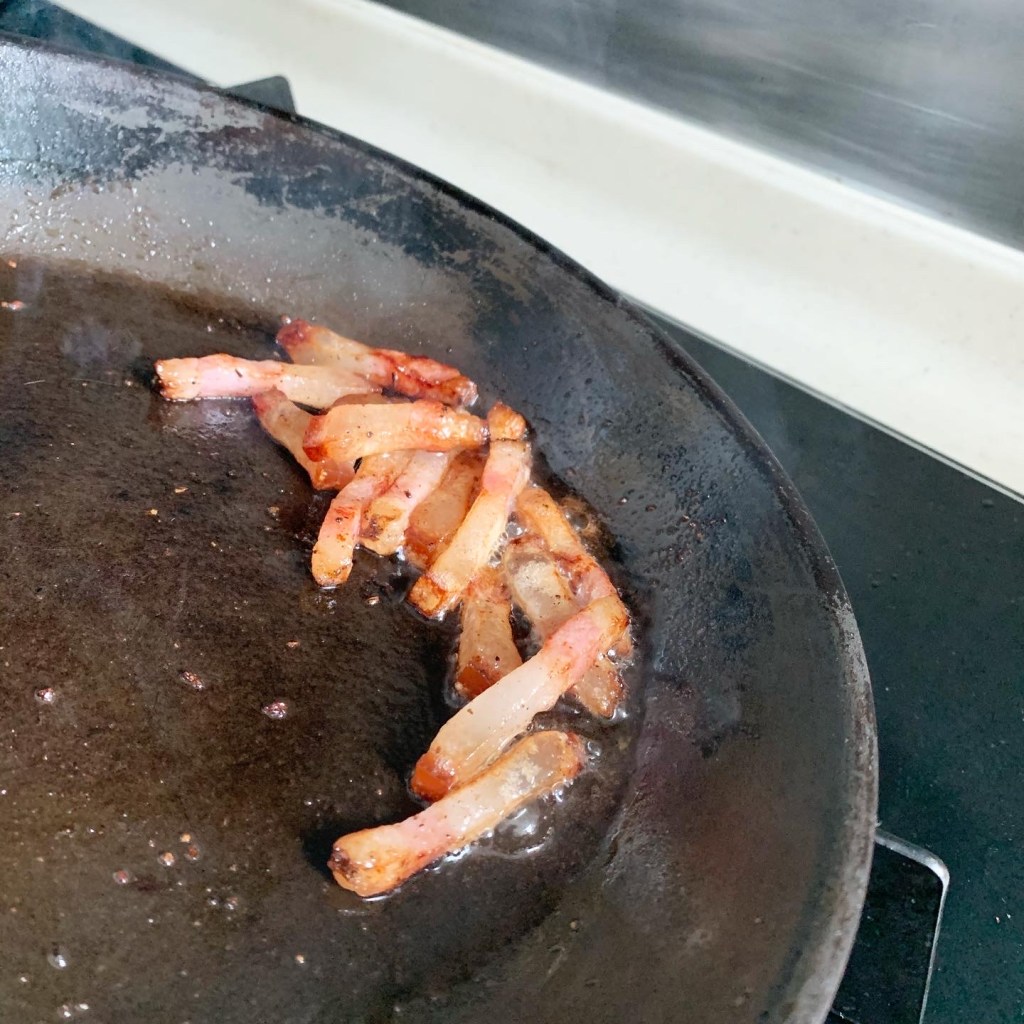
6. On a cutting board, cut guanciale into small cubes
7. Transfer guanciale into a small frying pan and turn heat to medium to start cooking
8. In the large frying pan, check that the garlic has turned golden but not brown
9. Remove garlic from pan
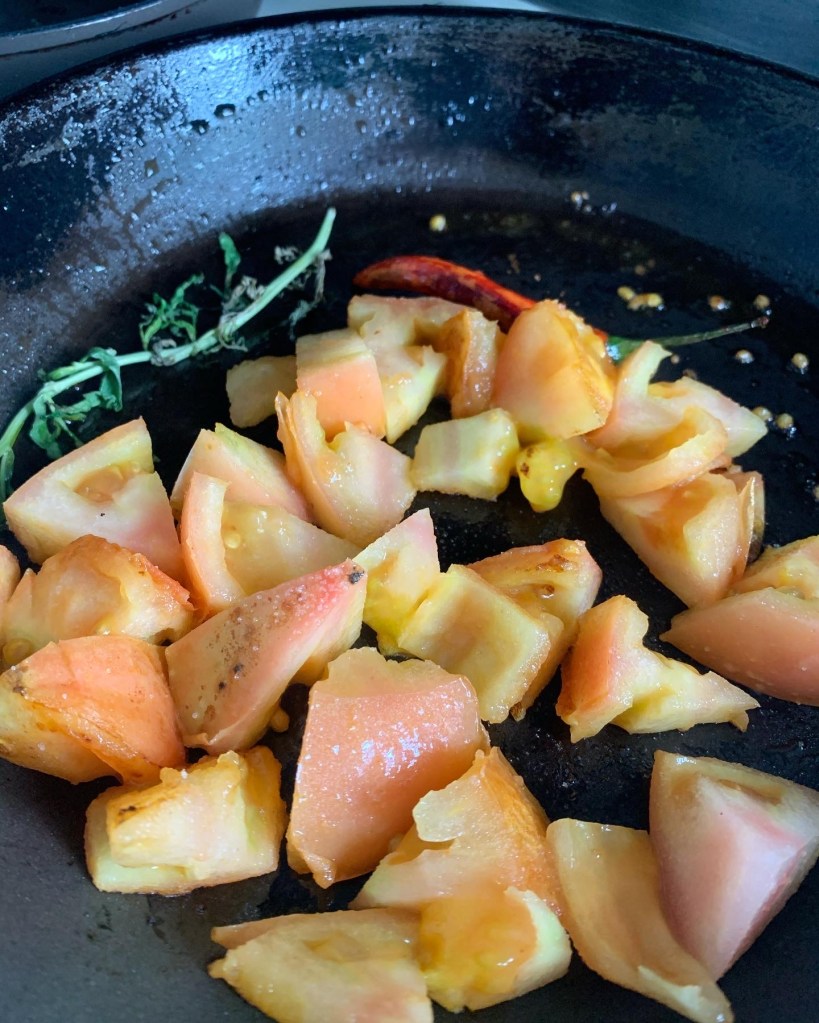
10. Wash and chop tomato into small chunks; add to large frying pan, along with fresh herbs
11. Turn heat to high to start disintegrating the tomato
12. Remove guanciale from the small frying pan; set aside
13. Tip the remaining guanciale oil into the large frying pan with the tomatoes
14. Add 3 ladles of pasta cooking water and tomato concentrate
15. Cut one of the garlic cloves into thin slices and add to the large frying pan
16. Stir actively until a creamy sauce is formed
17. Strain pasta and add to the pan
18. Add more pasta cooking water and a tiny bit of olive oil as needed, to further thicken the sauce
19. Once sauce has combined well with pasta, remove from flame
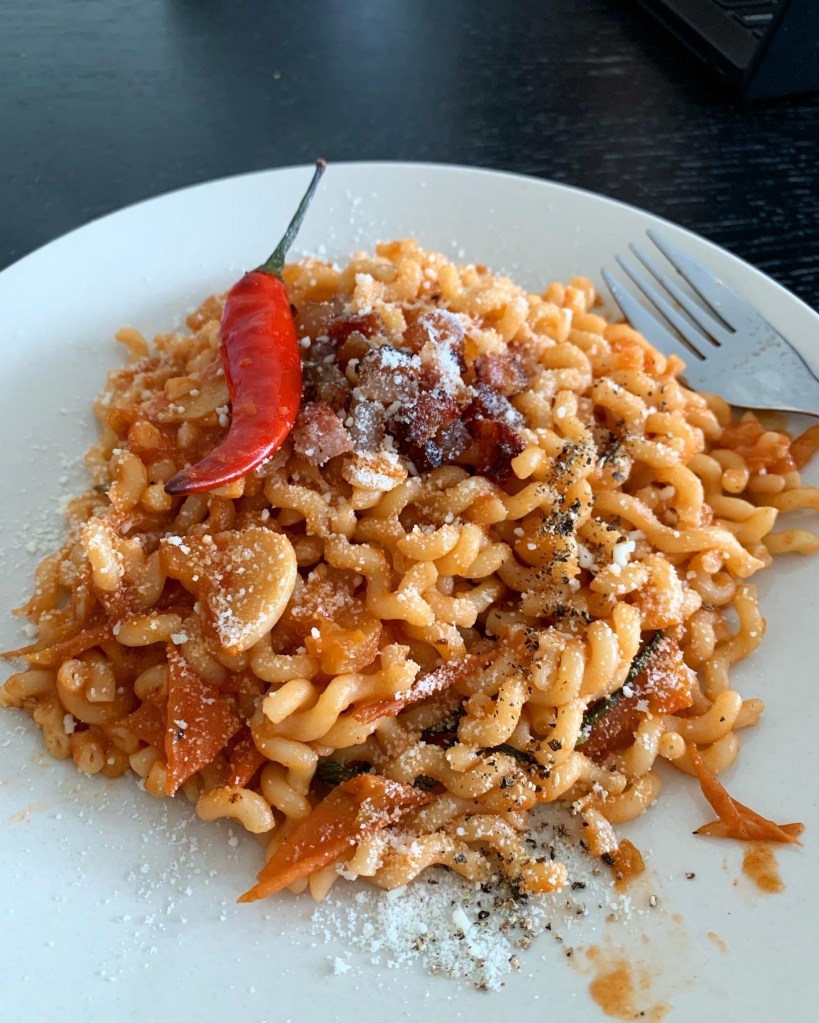
20. Divide pasta into plates
21. Add the guanciale on top
22. Sprinkle with pecorino and coarse-ground black pepper
23. Garnish with the chilli from the pan, which should now be slightly burned and fragrant